
Africa.
To say it was looming on my travel bucket list for seemingly forever would be an understatement for how intensely I longed to visit the continent. Not only because of my ancestral history and connection to the land, but because I genuinely anticipated taking in the vastness of its rich cultural, culinary, natural and historical landscapes.


Yet, my travels somehow continued to lead me elsewhere.
And so, I finally made the personal determination that 2024 was my year to finally visit the Motherland. I didn’t know where my footprint would land first, but as it happened, Cape Town, South Africa, was my portal into the continent I was longing to see and experience and behold the land of my origin.
It was a perfect introduction and fulfillment of my determination to finally get there, and I’m excited to share some of the highlights from my inaugural—but certainly not singular or final—entree into the continent of my travel dreams.


Marking my fifth continent visited to date (as a solo traveler, to boot), my anticipation for my arrival in Africa stirred so many emotions - excitement, wonder, belonging, connection and more—within me.
Embarking upon the Cape Town International Airport and finally settling my feet on the pavement outside of the airplane was a joyous moment--and one that remained throughout my visit and beyond.
If I had to characterize my stay in Cape Town, I’d say it was a veritable highlights reel of the best this destination has to offer—and I’m immensely grateful that I got to experience it all, amidst the gorgeous weather that crowned my visit. From waterfronts, to mountain tops, wineries, safaris, cultural and culinary exposés, mixed with local art, cuisine and R&R, it was everything I could have wished for.


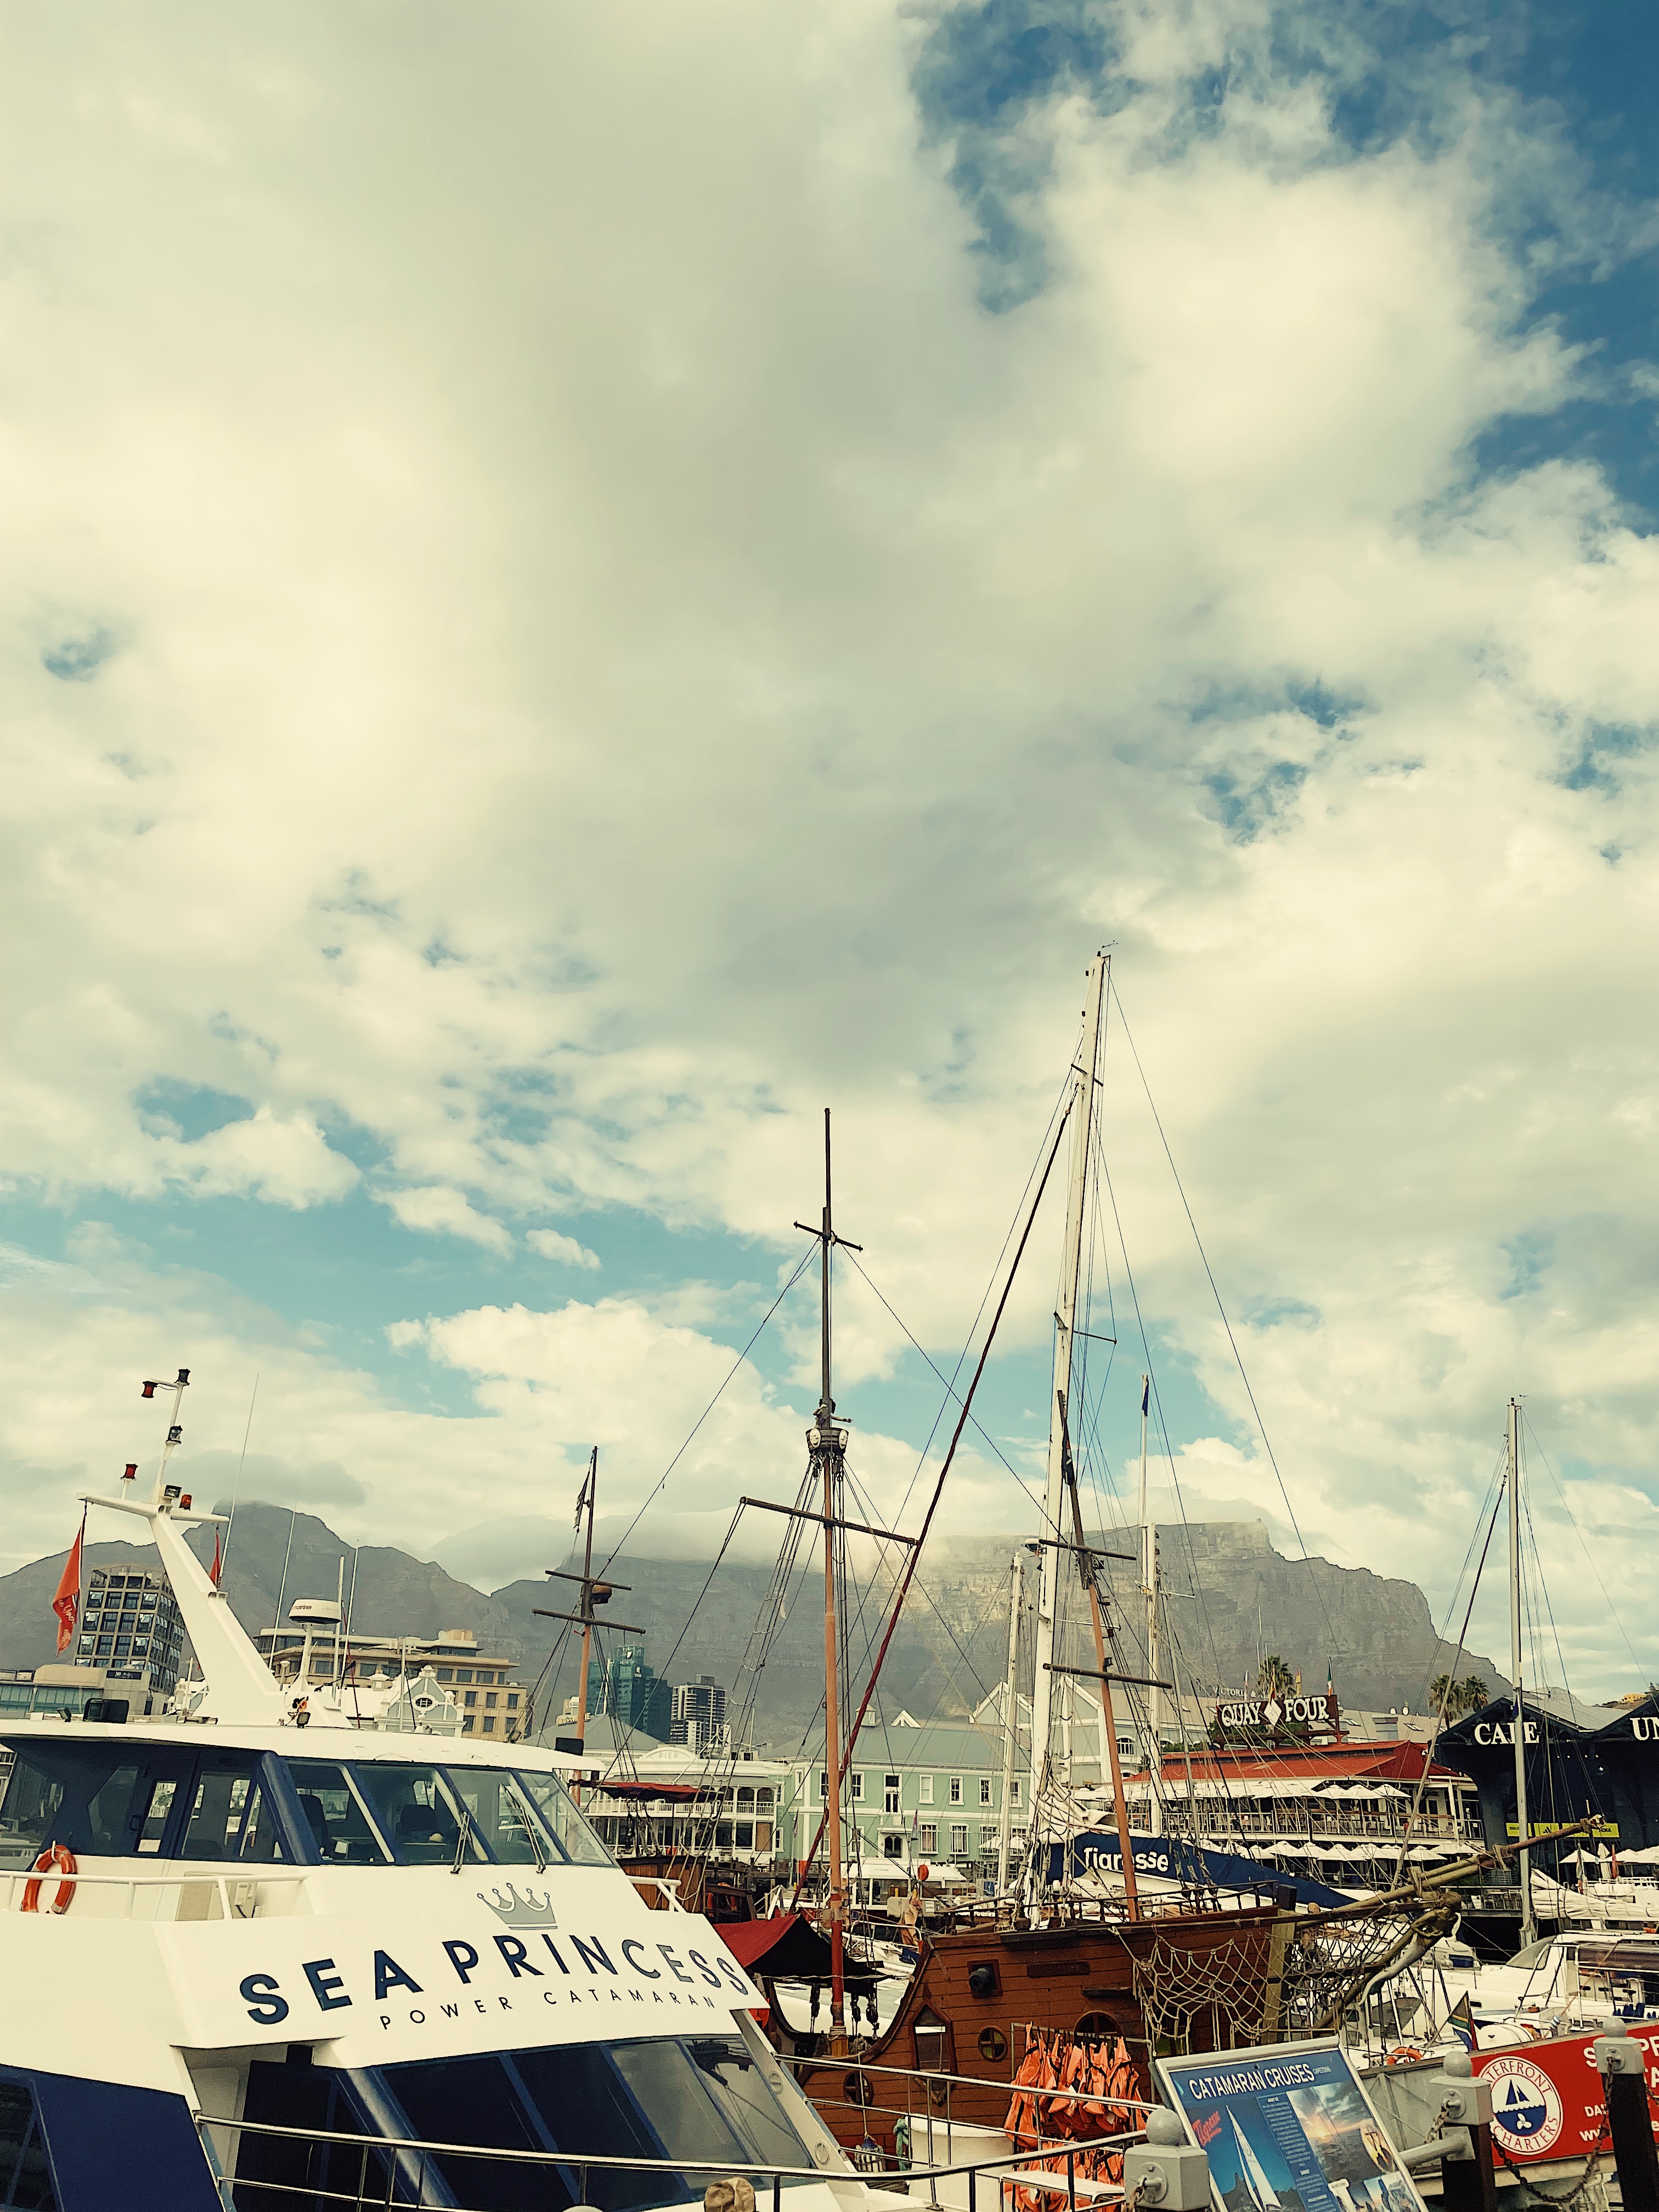
I spent my first day getting settled, enjoying a delicious lunch, and taking in the vibrant V&A (Virginia and Alfred) Waterfront, studded with yachts, shops, eateries, and bustling activity. That soon led me to a highly anticipated museum exhibition—and with only an hour to spare until closing, I managed to take it all in (a feat for me), before heading to the stunning, adjacent hotel for a pre-dinner sip and gorgeous sunset views of majestic Table Mountain. I wrapped the evening with an early-ish dinner and then it was back to my hotel for a wind-down in anticipation of an early start the next morning.
The days that ensued included forays in heart of—along with escapes to—various parts of Cape Town and the Western Cape. I saw and indulged in glorious mountains, beaches, wine farms, local neighborhoods, markets, wildlife, restaurants, spas, and more, combined with connecting with exceptional locals and fellow travelers, alike.

 |

And when the time for my departure finally arrived, you don't have to guess whether I was longing for more time to explore and enjoy this South African hallmark.
Now back home, I’m left with the treasure of indelible postcard memories that I will savor for a lifetime. I hope this inspires you to seek out your own dream destinations (and to add Cape Town to your list!) and create experiences that will fuel you for years to come.
Happy Travels and Inspired Living!


