Sunday, April 30, 2023

Chocolate Hazelnut Bark


Few things tantalize me like chocolate and nuts, combined.  Peanuts, almonds, cashews, hazelnuts--you name it!  It's a forever combination made in heaven for me.

But there's something especially scrumptious about chocolate and hazelnuts.  So when I recently came across a video touting the two in a delicious bark, I knew I had to bring the goodness to life in my own kitchen.  

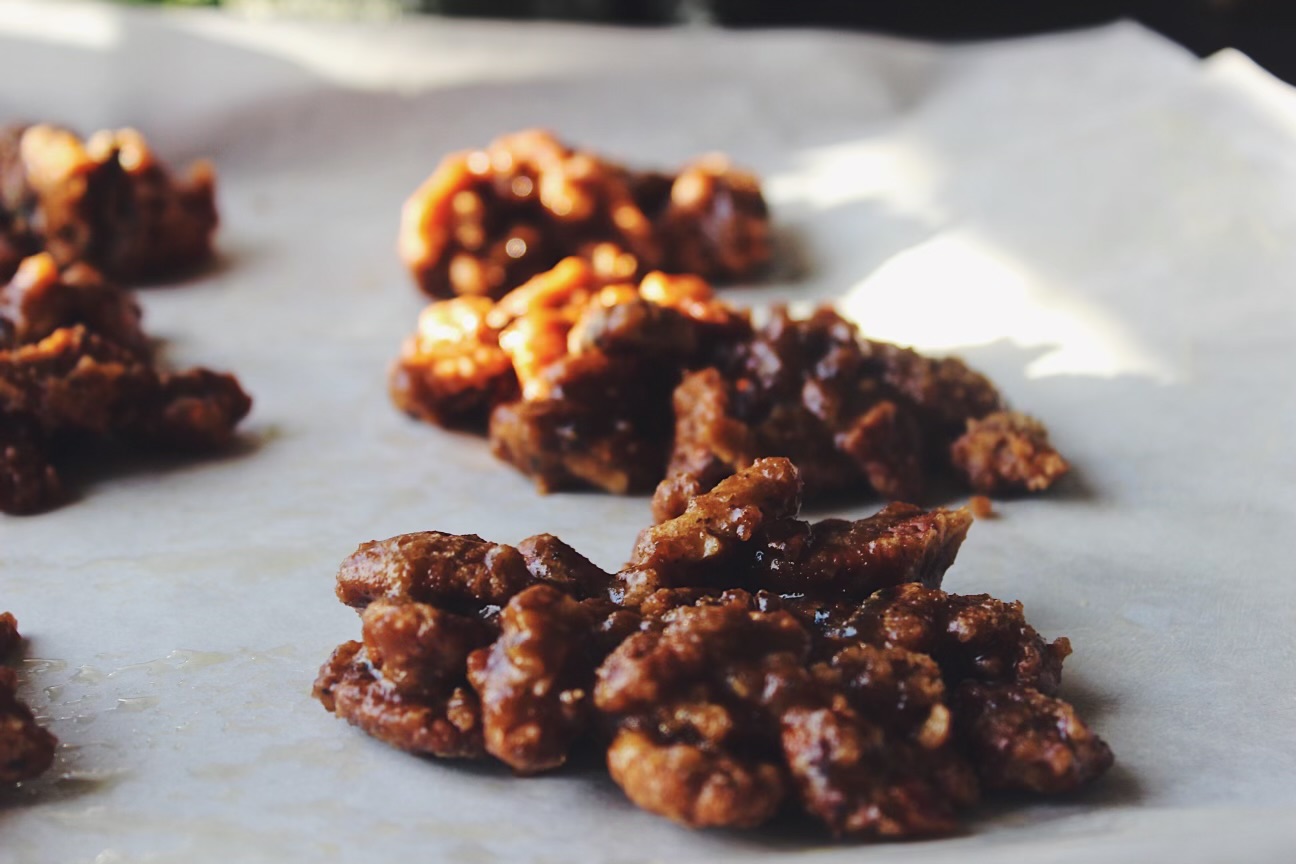
Following church today, I made good on that promise and a three-ingredient star was born (I added sea salt to finish, in case you're wondering).  It takes sheers minutes to bring together, followed by an hour or so to set in the freezer--and you've got the best noshing at your fingertips.

Whether it's a casual (healthy-ish) sweet fix or a dessert course, it eats (and satiates) all the same.  

Here's to your own batch in your kitchen and guaranteed...Happy Eating!

Chocolate Hazelnut Bark

Ingredients:

6 oz. semi-sweet chocolate

8 oz. hazelnuts

Sea salt to finish (optional)

Method:

Preheat oven to 350 degrees F.  Place hazelnuts in preheated oven and roast for 10-12 min.

Remove roasted hazelnuts and place them in a clean kitchen towel. Using towel, rub skins off of the hazelnuts (don't worry if they don't all come off) and set hazelnuts aside.

Melt chocolate in a double boiler (place a heat-proof bowl over a pot of simmering water, being careful not to allow the bottom of the bowl to touch the water) and stir chocolate until completely melted.  Remove chocolate from heat and stir in hazelnuts.

Pour chocolate-hazelnut mixture onto a parchment lined baking tray.  Sprinkle with sea salt, if using.

Place tray in freezer and allow bark to set, 1-2 hours.

Remove from freezer and enjoy!


SHARE:

Friday, December 23, 2022

Pralines


When New Edition sang the song, Candy Girl, they were singing to me—and my unabashed sweet tooth.  To say I love candy is the greatest of understatements, because I actually looooove candy.


And when it comes to these confectionery delights, I especially enjoy them during the holidays.  Growing up, my mom always set out her glass candy jars filled with candies for my sister and me, along with family members and “dropper-byers”, alike, to relish.


Then something really special happened exactly 15 years ago, when D.M.R. Fine Foods was born during the holiday season.  And our inaugural offering?  A Holiday Sweets & Treats menu filled with sweet and savory goodness, including decadent homemade candies.


So it’s no wonder that I was inspired to bring another candy recipe to life in my kitchen last weekend—inspired by my latest jaunt to New Orleans this past Summer—and the tastes that have long been favorites of my pecan-loving family.


Pralines.


So unbelievably easy and quick to bring together, you can make and nosh on these goodies whenever your heart and palate desires.  I gifted most of my batch (a bit selfishly motivated by the consequences of keeping them on hand in my home and the residual fallout to my waistline), so you can do the same for friends, family, colleagues—or just enjoy them all to yourself, if you’re not willing to part with the nutty, decadent goodness.


This recipe rendition hails form the New Orleans School of Cooking where I spent an afternoon learning more about the history, culture, people, cuisine, and techniques that make Creole and Cajun cuisines so exceptional, while watching classic dishes come to life, and eating to my heart’s content.


So here’s to making your holidays—and beyond—extra sweet and to Happy Eating!


Pralines


Ingredients:

1 1/2 cup sugar

3/4 cup light brown sugar, packed

1/2 cup milk

6 tablespoons butter (3/4 stick)

1 1/2 cup pecans (roasted optional—but recommended)

1 teaspoon vanilla extract


Special Equipment:

A Candy Thermometer


Method:

Combine all ingredients in a medium saucepan and bring to a boil achieving “softball stage” (*238-240 degrees) Cook’s Note: watch carefully to avoid sticking and burning on the bottom.


Remove from heat.  Stir until mixture (stirring constantly) becomes creamy and cloudy, and pecans stay suspended in mixture.  Spoon out on buttered waxed paper or parchment.  Enjoy!

Cook’s Note: when using waxed paper, be sure to buffer with newspaper underneath, as hot wax will transfer to whatever is underneath.


Roasted Pecans: Bake them on a sheet pan at 275 degrees F for 20 to 25 minutes, until slightly browned and fragrant.


Options:  Praline Sauce (add 1/2 cup corn syrup to mixture.)  Chocolate covered praline candy.  Flavored pralines (chocolate, coffee, brandy, etc.)


**Makes 1-50 Pralines depending on size.


*Recipe adapted from the New Orleans School of Cooking


SHARE:

Thursday, January 17, 2019

Apple Crostata

It's hard to argue that buttery, homemade pie crust, topped with apples coated in cinnamon, sugar, orange zest and more, isn't some of the best noshing around.  So much so, that when I prepared that delight, also known as an Apple Crostata, on Thanksgiving morning, it never made it to the Thanksgiving dinner dessert line-up!

Beyond being truly irresistible (you'll bear witness for yourself once you make it), the recipe scores bonus points for the ease in which it comes together, making it ideal for a last minute dessert option with major wow appeal.  It's no secret that fruit crostatas are some of my favorite things to bake (and devour!), and I've long loved this recipe, which hails from one of my biggest food inspirations, Ina Garten (aka The Barefoot Contessa). 

I shared the fruits of my Thanksgiving baking labor, along with some of the morning-of behind the scenes action, but decided it would only be truly fair if I also shared the recipe so that you can make it, too.  So, at last, here it is--in all of its can't-get-enough goodness and perfection for endless....

Happy Eating!

Apple Crostata

 
SHARE:

Saturday, December 23, 2017

Chocolate Truffles (& A Food Story)

Ten years. TEN YEARS!

I recently came up for air and realized that, indeed, it has been ten years since I first "went public" (read: beyond doting family and friends) with my food passion and journey.  I had been cooking, baking--and sharing--well before then, but ten years ago (the holiday season of 2007, to be exact), I decided to take my love of creating and sharing great food to another level.  And it was then that my inaugural Holiday Sweets and Treats Menu was born.


When I set about this whirlwind task of developing the menu (the easy part--and 100% inspiration) and subsequently fulfilling 35 orders that first Christmas (yes, 35!!!--and more in the queue that I had to decline as the word spread), I didn't have any more immediate plans on this front.  Because let me tell you: that. was. some. work.--100% perspiration.

Still, I took immense pleasure in the fact that people responded to my food--and wanted to pay me for it! (A sensation I imagine most creatives and entrepreneurs experience.)  I made everything from scratch (the purist in me is still alive and well all these years later.)  I had personalized ribbons with my new chosen name, D.M.R. Fine Foods, designed to adorn the delivery boxes.  And, finally, I personally packaged--and delivered--every order to each precious customer across the Metropolitan Atlanta area (the majority of whom were...strangers!)  It was the ultimate labor of love--and one that has brought me to this very moment in time...in grateful retrospection.


This has been one of the best surprises and journeys of my life so far--replete with blessing after continual blessing.  I'm so grateful to God for the gifts and talents He's graced me with and for allowing me to share them with those who cross my path in real life or virtually.  And THE BEST IS YET TO COME!


As an ode to that first menu and the abundant memories, I'm sharing a delicious, indulgent confection that has been with me since that initial launch: my rich Chocolate Truffles.  And because they're so easy to pull together, you can make them now and enjoy them in time for Christmas--and beyond!

Here's to ten years and counting, a Merry Christmas....and, as always, Happy Eating!

Chocolate Truffles
Ingredients:
8 oz. semisweet (good quality) chocolate --some of my favorites are Lindt and Ghirardelli 
1/2 cup heavy cream
1 teaspoon vanilla extract
Confectioner's Sugar
Dutch (Unsweetened) Cocoa 

Method:
Finely chop chocolate and set aside in a heat-proof bowl.  

Add cream to a heavy saucepan and bring to a simmer over medium heat, stirring occasionally.  Stir in vanilla.  Let cool for 20 seconds.

Pour hot cream over chocolate and stir to melt chocolate completely.  (Cook's Note: If chocolate still has lumps, place bowl over a pot of simmering water--being careful that the bowl doesn't touch the water--and continue to stir until the mixture is completely melted and smooth.) 

Refrigerate for at least two hours and then using a small ice cream scoop or teaspoon, scoop out the truffles.  They don't have to perfect; it's meant to be rustic as a mimic to the real (savory) truffles.

To finish, roll truffles in powdered sugar and cocoa (and any other coatings you prefer.)  Serve and enjoy!


SHARE:
© D.M.R. Fine Foods. All rights reserved.
MINIMAL BLOGGER TEMPLATES BY pipdig