Wednesday, January 10, 2018

Slow-Cooker Sweet and Sour Chicken

Cookbooks are a home cook's best ally.  And when you're thinking about dishes that will (ahem) indulge your giddiness to break in your recently gifted Slow Cooker, it doesn't get much better than a cookbook that mixes yummy, slow-cooked recipes into its bounty.

I knew Valerie Bertinelli's new cookbook, Valerie's Home Cooking, was a keeper the moment I got my hands on it.  Filled with beautiful, scrumptious food and drinks that usher you into her kitchen, I am excited to taste my way through its pages.  And where to start?  With an effortless home spin on classic Chinese Takeout: Slow-Cooker Sweet and Sour Chicken.

I love that my slow-cooker does virtually all of the work, and I can still enjoy a delicious home cooked meal.  I think know you'll enjoy it, too.

Happy Eating!

Slow-Cooker Sweet and Sour Chicken
Serves 4 Hands-on 30 minutes Total 4 hours

Ingredients:
2 tablespoons canola oil
8 (8-ounce) bone-in chicken thighs, skin removed
1 red bell pepper, cut into 1-inch pieces
1 green bell pepper, cut into 1-inch pieces
1 white onion, cut into 1-inch pieces
1⁄3 cup rice vinegar
1/4 cup ketchup
3 tablespoons soy sauce
2 tablespoons cornstarch
2 teaspoons granulated sugar
3 cups hot cooked white rice
¼ cup sliced scallions
1 tablespoon sesame seeds, toasted
 
1. Heat 1 tablespoon of the oil in a large skillet over medium-high. Add the chicken to the skillet, and cook until golden brown, 3 to 4 minutes per side. Place the chicken in a 4- to 5-quart slow cooker.
2. Heat remaining 1 tablespoon oil in the skillet. Add the bell peppers and onion; cook, stirring occasionally, until tender and lightly browned, about 6 minutes. Add the vegetables to the slow cooker.
3. Whisk together the vinegar, ketchup, soy sauce, cornstarch, and sugar. Pour the mixture over the chicken and vegetables in the slow cooker. Cover and cook on LOW until the chicken is tender and cooked through, 3 hours and 30 minutes to 4 hours. Serve the chicken mixture over the hot cooked rice topped with the scallions and sesame seeds.

Ingredient Note:
Chicken thighs have more flavor and  are more forgiving during cooking, staying juicy.

Recipe and photos excerpted from Valerie’s Home Cooking by Valerie Bertinelli. Copyright © 2017 Oxmoor House. Reprinted with permission from Time Inc. Books, a division of Time Inc. New York, NY. All rights reserved.
SHARE:

Friday, July 28, 2017

{Toast With This!}: Strawberry Spritzer

Enduring the Summer heat is a lot more bearable when you're sipping on a cool, effervescent and refreshing drink that boasts the season's bounty.  And with that in mind, I recently added another favorite to my mocktail repertoire.

Inspired by my love for homemade everything, I set about to create a strawberry puree, accented with a hint of fresh lime juice.  And can I just tell you--it was sooo good.  (Like, spoonfuls in the middle of the day, straight from the container, kind of good. Don't judge me.)  From there, the possibilities became endless for how to make the most of the berry-licious concoction.

Freeze into sorbet.  Spoon over ice cream.  Make into a seasonal spritzer.  The latter of these was my immediate go-to, but the other options are still very much alive.

And this "non-recipe", recipe of sorts, couldn't be easier to pull off--or transform with additional or alternate flavors.  One technique x endless options = happy cooking at its finest.

So cheers to more of Summer's luscious flavors...and to Happy Sipping!

Strawberry Spritzer
Ingredients:
1 lb. fresh strawberries, hulled and halved
Juice of 1/2 lime, plus more to garnish as desired
1/2 cup sugar
Club soda
Ice Cubes

Method:
Place strawberries in a blender or food processor and blend into a puree.  Strain puree through a fine mesh sieve.

Add in sugar and lime juice and stir well to combine.  Store in an airtight container for 8-12 hours or overnight to chill mixture.

Mix together 1/4 cup of puree and 3/4 cup of club soda.  Pour over ice, serve and enjoy!

Recipe adapted from Bon Appetit 


SHARE:

Friday, May 12, 2017

Homemade Marinara and Meatballs with Creamy Polenta

Sundays and homemade comfort food go way back in my family.  From my youngest memories, I can recall coming together for Sunday dinner (whether with the extended village at my grandparents' home or the more intimate connection of my immediate family) and relishing the delight of a homemade feast of some sort.  And while the tradition isn't observed every Sunday (or even every other Sunday, if I'm being completely honest), I have carried the awe and ode to Sunday dinner, made up of good ole' comfort food, with me into my own adult world.

Last Sunday was one such instance.  Making my favorite homemade meatballs and marinara sauce was the highlight of my cooking foray.  And it was all things comforting--the relative ease of bringing the dish together, the anticipation of enjoying the finished product, memories of sharing this beloved dish in days gone by, and the welcomed twist I decided to add.

I broke with my tradition of serving my meatballs and marinara with pasta (linguine, to be exact) and recalled my desire to serve them over polenta one day, as inspired by Chef, Michael Chiarello.  And one day had come.  It was exactly the beautiful, finished dish that I was aiming for--and no less scrumptious.  (The Italians know their stuff!)  A big family style platter of the best comfort food you could imagine was the takeaway for happy mouths and satisfied tummies. 

I must add that this recipe doesn't require a Sunday, or a crowd, to make and enjoy.  It comes together easily enough to match a fast-paced weeknight equally as well as a lazy, indulgent weekend. 

So you choose when and where to indulge and savor....Happy Eating!

Recipe: Homemade Marinara and Meatballs with Creamy Polenta (simply substitute pasta for quick cooking polenta and enjoy!)
 
SHARE:

Monday, February 13, 2017

Chocolate Peanut Butter Cups

Let's just say that my affinity for chocolate and peanut butter combined knows few, if any, bounds.  From childhood, peanut butter has always been one of my absolute favorite tastes.  (I actually have a family member or two who find it totally distasteful, and every so often I have to insert the incredulous side-eye/eye roll to this madness. 😏) 


As I was saying, PB (with, or without, the J) is a delicacy I find scrumptious from cookies (it's my favorite kind and perpetual "go to"), to candies, and beyond.  And while I'm not the world's biggest chocoholic, chocolate peanut butter cups--or any variation of those ingredients--squarely amount to confectionery delights of the grandest proportions.  Translation: it's not safe to keep them around for long...or my hips and waist may be impacted.

Still, everyone deserves a special indulgence (or two or three or more) every so often.  And these homemade goodies more than fit the bill of indulgent, undeniable goodness.   And served to someone special?  There's no denying the love that's involved.  

So for all my fellow chocolate-peanut butter lovers, this one's for you.

Happy Eating!

Chocolate Peanut Butter Cups
Ingredients:
9 ounces milk or semi-sweet chocolate
3/4 cup smooth, natural peanut butter
1/4 cup confectioner's sugar
1/2 teaspoon vanilla extract
1/2 teaspoon kosher salt

Method:
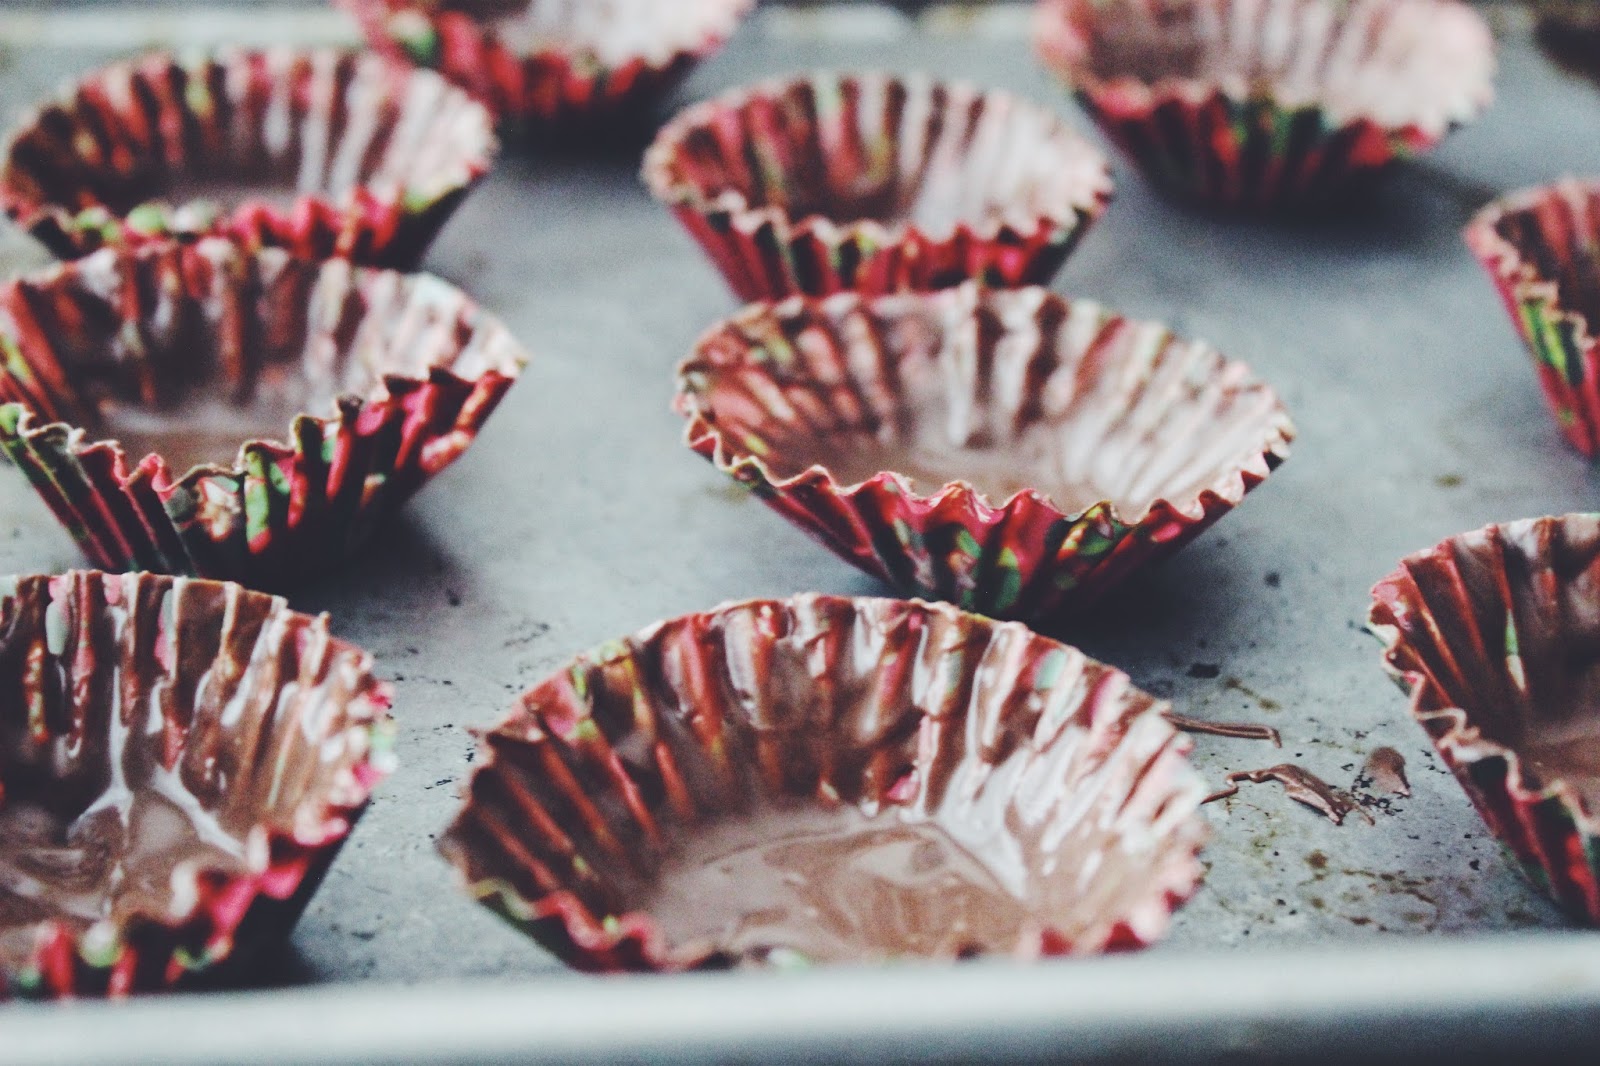
  1. Set 18 mini paper baking cups on a baking sheet. Melt 4 ounces of the chocolate either over a double boiler on the stove top or in short bursts in the microwave. Spoon 1 teaspoon of melted chocolate into each cup. Use an offset spatula or a small spoon to spread the chocolate slightly up the sides of each baking cup; make sure you have an even chocolate base at the bottom of each cup. Let cool at room temperature for about 15 to 20 minutes until mostly solid.
  2. Meanwhile, in a medium bowl, stir together peanut butter, confectioners’ sugar, vanilla extract and salt. (Make sure the peanut butter is well-combined in the jar before you measure it.) Transfer the peanut butter mixture to a resealable plastic bag and seal it tightly.
  3. Cut one corner of the plastic bag and pipe 2 to 3 teaspoons of peanut butter mixture into the center of each cup. With a very lightly moistened finger, tamp down the peanut butter and make it flat and even, but leave a bit of space between the peanut butter and the edge of the paper cup (you should be able to see a ring of chocolate peeking from below the peanut butter).
  4. Melt the remaining 5 ounces of chocolate. Spoon 1 teaspoon of chocolate onto the top of each cup. Use an offset spatula or a small spoon to spread the chocolate evenly over the top and down the sides of the cup. Refrigerate until solid, about 30 minutes.
 Enjoy!
Recipe courtesy of New York Times Cooking
    
SHARE:

Thursday, August 25, 2016

Salted Honey-Caramel Sauce

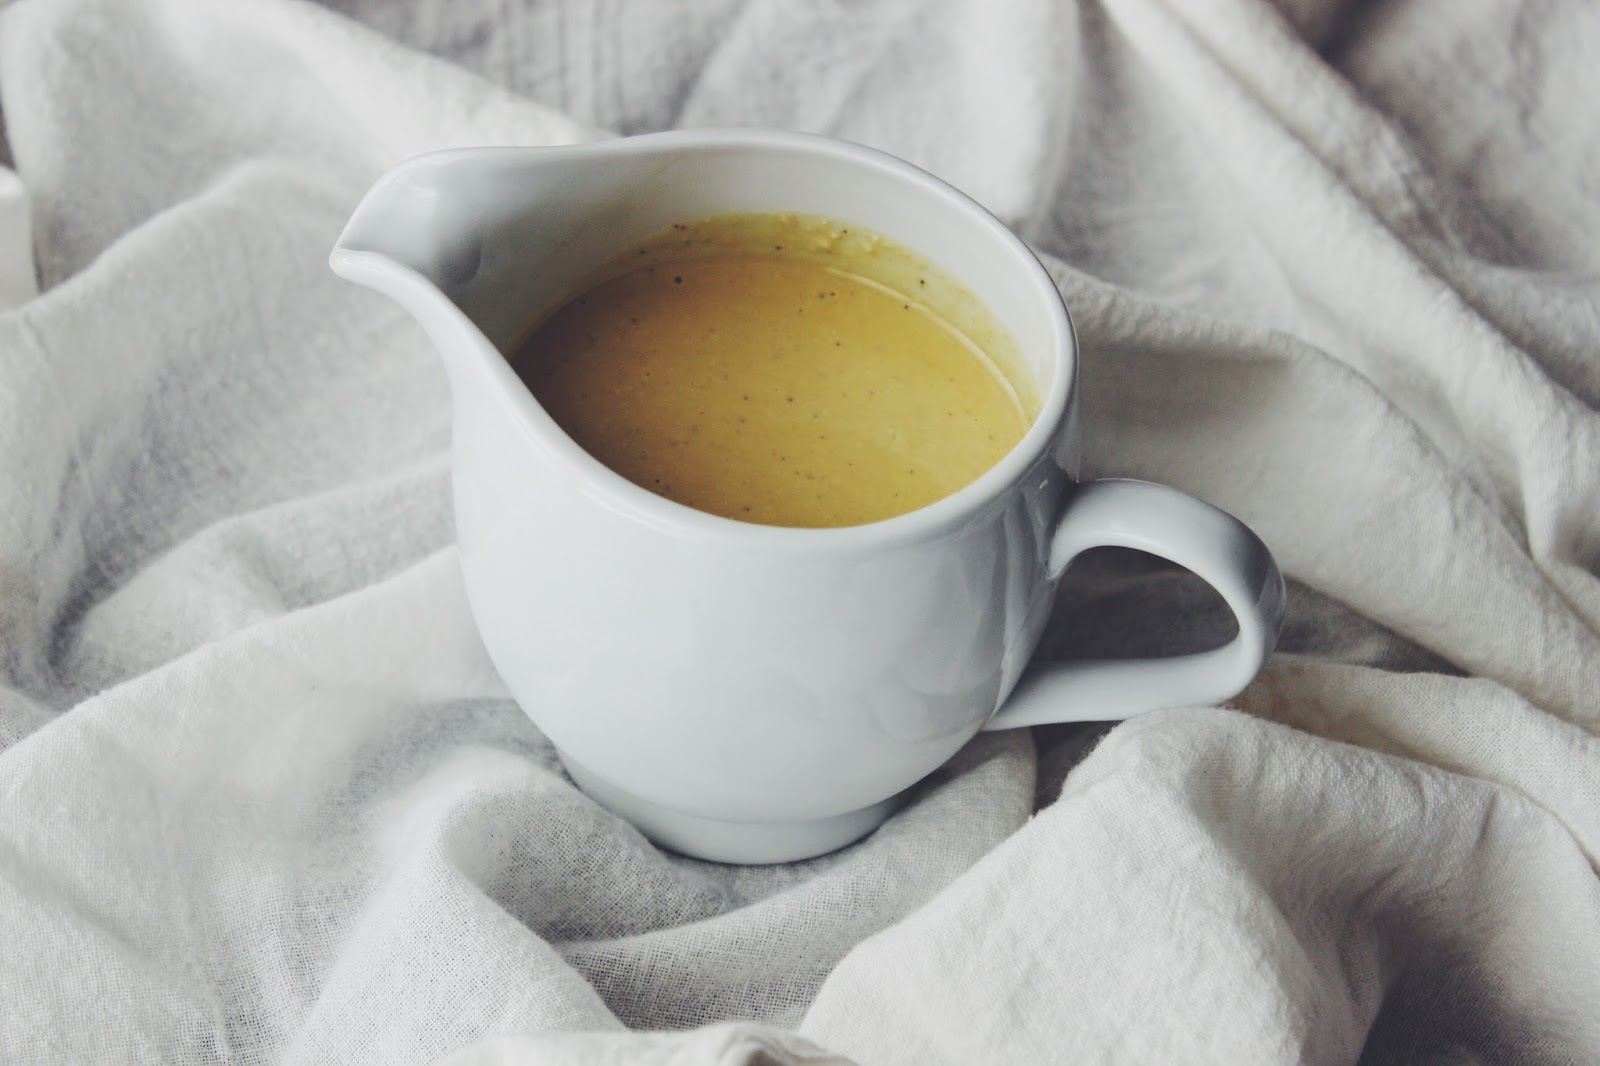
Not all great dishes require extended time and effort to pull off something remarkable and deliciously nosh-worthy.  Take decadent salted honey-caramel sauce for instance.  This homemade treat comes together like a dream in a matter of mere minutes, and from there the sky is the limit on the number of ways to indulge.

From ice cream sundaes, to milkshakes, to cheesecake, to pancakes (you get the picture, no?), a drizzle or two or three of this homemade confection delivers irresistible sweet-salty-caramel-y goodness to your favorite desserts and dishes.

Make. Drizzle. Nosh. Repeat.  All in a day's... Happy Eating!

Salted Honey-Caramel Sauce
Ingredients:
1 tablespoon honey
1 cup sugar
1 cup heavy cream
4 tablespoons cold, unsalted butter
1 teaspoon Fleur de Sel (or coarse salt)   
1 teaspoon vanilla extract

Method:
Combine honey, 1/4 cup water, and sugar in a medium saucepan.  Heat over medium, swirling until sugar dissolves.  Bring to a boil; cook until mixture is deep golden brown, 4-6 minutes.  

Remove from heat and carefully whisk in cream, butter, salt and vanilla (be careful, mixture will splatter).  Let cool completely.  Sauce can be refrigerated for up to two weeks in an airtight container.  Gently reheat before serving.  Enjoy!

Recipe adapted from Martha Stewart   


SHARE:

Tuesday, May 31, 2016

Grilled Caesar Salad with Homemade Caesar Dressing

This past weekend marked the unofficial start of the Summer season.  There were festivals, concerts and BBQs galore to soak in the beautiful weather and holiday weekend good vibes--and that means food (specifically what to eat) was never too far behind.

A family BBQ was on my agenda for Memorial Day and I contemplated what to contribute to the menu.  I briefly considered doing a dessert, but then decided to go in a different (but equally delicious) direction with a classic Summer staple: salad.  But not just any salad.  If it was going to be a salad that could hold its own among burgers and franks and sides and, yes, dessert, it had to be one that I was sure could deliver.   So I decided to dust off my my recipe for Grilled Caesar Salad with homemade Caesar dressing.  I fell in love with this salad years ago, and it was a hit at last year's Spring Pop-Up Cooking School, so it had already passed the taste test many times over.


There's nothing quite like making your food from scratch. The homemade effect is hard to beat and that couldn't be truer when it comes to homemade salad dressings.  Caesar dressing is especially wonderful with a bold, deeply savory and scrumptious flavor that can single-handedly elevate your classic Caesar Salad to other-worldliness-and when coupled with grilled, slightly charred greens, you'll never see this salad the same again.


Here's to a beautiful Summer filled with lots of Happy Eating!

Grilled Caesar Salad with Homemade Caesar Dressing

Ingredients:
2-3 tablespoons fresh lemon juice
1 garlic clove, peeled and finely minced
1 teaspoon Dijon mustard
1 teaspoon anchovy paste
1 teaspoon Worcestershire sauce
Few dashes of Tabasco (optional)
3 tablespoons grated Parmesan, plus extra for sprinkling
1/4 teaspoon kosher salt
1/4 teaspoon freshly ground black pepper
1 large egg yolk
1/2 cup extra virgin olive oil, plus extra for drizzling
Romaine hearts

Method:
Add the lemon juice, garlic, mustard, anchovy paste, Worcestshire, hot sauce (if using), egg yolk, salt, and pepper to a blender to combine.  With the blender on low, slowly drizzle in the olive oil to incorporate until dressing is thickened.  Remove dressing from blender and whisk in 3 tablespoons of Parmesan.  Set aside.

Heat a grill pan over medium-high heat.  Take romaine hearts and lightly drizzle with olive oil.  Grill, face-side down, for up to two minutes, or just until greens start to slightly wilt and char.

Greens can be served whole or chopped.  Add dressing and garnish with a sprinkling of fresh Parmesan.  Enjoy!     


SHARE:

Monday, January 25, 2016

Rosemary-Thyme Cornbread Madeleines

I'll be honest.  There was a moment (or two or three) when I wondered if any semblance of a real winter would ever surface.  70+ degree temps through Christmas bode less than favorably for this Southern girl who longed for the more characteristically cooler weather that winter dreams are made of.  (And to finally be able to sport my new coat that I snagged in eager anticipation of some serious stylin' and profilin'.) :)

And then there was this past weekend.  Winter decided to dust off any remaining cobwebs from last year and finally make its entrance--accompanied by a blizzard effect in some parts of the country, and a milder, yet welcomed, cold snap in my parts.  Fleeting snowflakes made for warm and cozy inclinations, including whipping up some chicken soup for the soul--and baking a batch of homemade, herbed cornbread madeleines.  Life was as it should be.

Starting with my trusted cornbread recipe, I gave a savory twist to these delicacies--replete with fresh rosemary and thyme--and the yield was just as scrumptious as my sweet renditions.  And just as gorgeous.  Although the temps have already begun their ascent back to milder days of yore, I'll continue to relish my soup and cornbread combo--made all the better in the beautiful little package of madeleines.  

Happy Eating!

Rosemary-Thyme Cornbread Madeleines
Ingredients:
1 stick (8 ounces) unsalted butter
1 1/2 cups yellow cornmeal
1 cup flour
1/3 cup sugar
1 tablespoon baking powder
3/4 teaspoon kosher salt
1 1/2 cups milk
2 large eggs 

2 teaspoons fresh rosemary, finely chopped
2 teaspoons fresh thyme, finely chopped
Heavy drizzle of honey (optional)

Special Equipment: Madeleine Baking Pan

Instructions:

Preheat the oven to 400 degrees F.  Grease and flour the baking pan.  Melt the butter in a small saucepan, pour the butter into a large bowl and set aside to cool.

In a medium bowl, add the cornmeal, flour, sugar, baking powder, and salt, and stir to combine. To the large bowl, add the milk, eggs and honey (if using). Toss in the dry ingredients and stir until just combined.

Spoon the batter into a madeleine pan(s) using a tablespoon measure.  Bake for 15-20 minutes, until madeleines are light brown and the edges are browned (don't overbake!).  Remove to a cooling rack and allow to cool for 10 minutes.  (Repeat as often as necessary with remaining batter.) Serve warm and enjoy!


SHARE:

Tuesday, December 15, 2015

Citrus Pound Cake

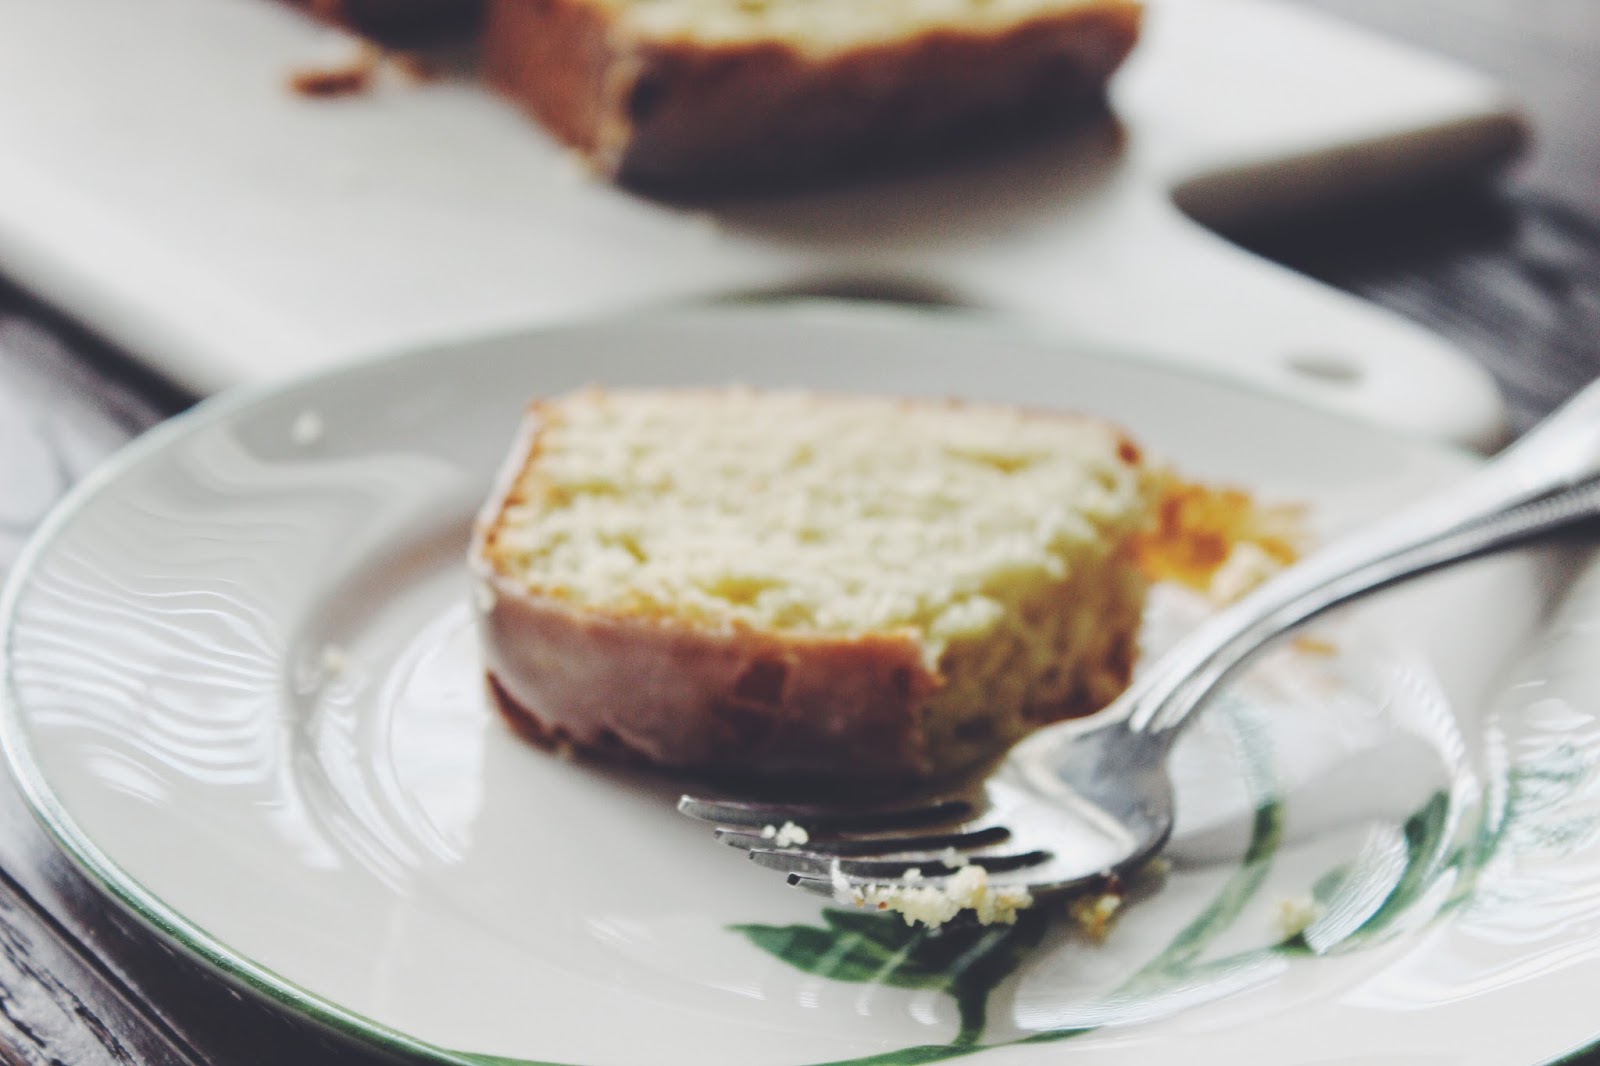
I spent my recent Sunday afternoon drinking in the fading sunshine... and baking a cake.  It wasn't the fancier variety of cake that may immediately come to mind.  But one equally special, all the same--and for all the right reasons.  Reasons like a beautiful, moist crumb, and wave upon wave of citrus infusion.  From zest and juice, to syrup and glaze, there was no mistaking the bright flavors and under notes that have made this cake a personal favorite for many years now.  I especially love it during the holidays when a little something extra special is the order of the day. And slice after decadent slice proves perfectly special.


Rather than go my more traditional route of lemon only (lemon pound cake is a wonder), I decided to mix things up a bit more and combine the flavors of grapefruit, orange and lemon.  Did I say this was a citrus pound cake?  And it's one of the most addictive desserts (or breakfasts, if you eat cake for breakfast.  I do.)  The absolute best part, however, is that it yields two cakes--one for savoring and one for sharing (or freezing until you're ready to indulge your sweet tooth all over again).

There's really not much left to say, other than you have to bake it.  And thank me later.

Happy Eating!

Citrus Pound Cake
Ingredients:
1/2 lb. (2 sticks) unsalted butter, room temperature
2 1/2 cups sugar, divided
4 large eggs, room temperature
Grated zest of one grapefruit, one orange and two lemons
3 cups flour
1/2 teaspoon baking powder
1/2 teaspoon baking soda
1 teaspoon salt
3/4 cup of citrus juice (combination of 1/4 cup each of grapefruit, orange and lemon), divided
3/4 cup buttermilk, room temperature
1 teaspoon vanilla extract

For the glaze:
1 1/2 cups confectioner's sugar
2 tablespoons citrus juice

Method:
 
Preheat the oven to 350 degrees F. Grease and flour 2 (8 1/2 by 4 1/4 by 2 1/2-inch) loaf pans. Line the bottoms with parchment paper.

Cream the butter and 2 cups sugar in the bowl of an electric mixer fitted with the paddle attachment, until light and fluffy, about 5 minutes. With the mixer on medium speed, add the eggs, 1 at a time, and the citrus zest.

Sift together the flour, baking powder, baking soda, and salt in a bowl. In another bowl, combine 1/4 cup citrus juice, the buttermilk, and vanilla. Add the flour and buttermilk mixtures alternately to the batter, beginning and ending with the flour. Divide the batter evenly between the pans, smooth the tops, and bake for 45 minutes to 1 hour, until a cake tester comes out clean.

Combine 1/2 cup sugar with 1/2 cup citrus juice in a small saucepan and cook over low heat until the sugar dissolves. When the cakes are done, allow to cool for 10 minutes. Remove the cakes from the pans and set them on a rack set over a tray or sheet pan; spoon the lemon syrup over them. Allow the cakes to cool completely.

For the glaze, combine the confectioners' sugar and the citrus juice in a bowl, mixing with a wire whisk until smooth. Pour over the tops of the cakes and allow the glaze to drizzle down the sides.  (Cook's Note: If freezing the cakes, don't apply glaze until you are ready to serve.) Enjoy!   

Recipe adapted from Ina Garten


SHARE:

Wednesday, November 25, 2015

Homemade Applesauce

I'm an apple lover, so apple "anything"--pie, crisps, tarts, candy (you get the picture)--has always been a welcomed part of my eating repertoire.  Applesauce is no exception and, in fact, has been a favorite since my earliest childhood memories.


While I've done my fair share of apple dishes over the years, last year's Thanksgiving dinner was the first time I decided to make homemade applesauce.  Where had I been all this time?  It was every bit as scrumptious and satisfying as I anticipated--pairing beautifully with my roasted porkloin--and easier than most apple creations that come through my kitchen.  It was clear: this recipe was a keeper.

As wonderful, seasonal dishes go, this is one that belongs in your fall/holiday repertoire, for sure.  I like the mix of sweeter red and tarter green apples, but you can use whatever you like--or happen to have on hand.  Although simple, it's a stunner of a dish with the taste to match.

Happy Eating!

Homemade Applesauce

Ingredients:
4-6 lbs. of apples, peeled, cored and cut into slices
1 cup apple cider
Juice of a lemon
1/2 cup light brown sugar
Heaping teaspoon of cinnamon
Pinches of allspice and nutmeg

Method:
Combine all ingredients into a large pot and cook over a medium-high heat, stirring occasionally to prevent sticking/scorching, about 25 minutes.

Once apples have softened and begun to dissolve/melt, remove from heat and blend to desired texture and consistency with an immersion blender or in a food processor.  Serve warm or chilled--and enjoy!

Recipe adapted from The Pioneer Woman
SHARE:

Wednesday, August 12, 2015

Rustic Strawberry Jam Crostini

It felt really good to be back in the kitchen this past weekend.  On Sunday, I decided to spoil myself a bit and whip up a brunch bite to go along with my "in-house" cappuccinos that I've essentially become addicted to lately.  A mound of fresh strawberries-- turned rustic strawberry jam--and an exquisitely scrumptious honey compound butter made for one of the best crostini I've tasted.  And I do adore my crostini.

To describe how it came together, I'd borrow from that hit of yesteryear and say (or sing) that it was easy like Sunday morning.  Corny perhaps, but totally apropos. 


With an emphasis on rustic (rather than a classic gelatin base), the jam came together in about half an hour, and the honey-butter called for little more than a spoon twirl or two.  Not long after, warm, buttery toasted baguette slices, that could easily have stood on their very own as perfection, were toppled with the sweet, yet slightly complex and savory jam (I tossed in a teaspoon of fresh thyme), to form bite after bite of homemade satisfaction. When I finally finished savoring my delicacies, I got an even bigger rush from the fact that I had leftovers--and I could would do it all over again soon.


Still makes me want to sing.  Make it for yourself and we'll start a band.

Happy Eating!

Rustic Strawberry Jam Crostini


SHARE:

Tuesday, November 4, 2014

Pumpkin Spiced Pancakes


November rolled in with somewhat of a vengeance last weekend.  The undeniable beauty of the Fall season was accented with a drop in temps--and a blustery wind chill.  The sudden change in weather staged the perfect scene for comforting and homey fare--the food that dreams are made of.

Homemade pancakes seemed like just the thing to satisfy my hankering for an indulgent, warm and cozy bite.  But the addition of pumpkin and spices made them all the warmer, cozier and more scrumptious.  I was already dreaming of these fluffy morsels before church on Sunday, so I saved room and went all in for a late afternoon brunch.  They were so, so good--only made (slightly) yummier by a pour of maple syrup and a dusting of powdered sugar.   Best of all, they were a breeze to whip up.  


So if you're looking to make your mornings, afternoons, or evenings, more delicious, you'll want these pancakes in your repertoire.  

Happy Eating!

Pumpkin Spiced Pancakes
Recipe courtesy of Martha Stewart (My only tweak was adding a splash of vanilla extract.)

Ingredients:
1 1/4 cups all-purpose flour 
2 tablespoons sugar
2 teaspoons baking powder 
1/2 teaspoon each cinnamon, ground ginger, and salt 
1/8 teaspoon nutmeg 
Pinch of ground cloves
1 cup milk 
6 tablespoons canned pumpkin puree 
2 tablespoons melted butter 
Splash of vanilla extract
1 egg 

Method:
Whisk the flour, sugar, baking powder, spices and salt together in a bowl.  In a separate bowl, stir together the milk, puree, butter, extract and egg.  Pour the wet mixture into the dry ingredients and whisk together until just combined (don't overmix) to form the batter.  

Melt butter over medium heat in a large skillet or griddle.  Measure 1/4 cup of batter for each pancake and cook on each side for about 1-2 minutes.  Serve and enjoy!


SHARE:

Tuesday, September 2, 2014

{Savor the Season}: Summer Fruit Crostata

Summer Fruit Crostata
Now that Labor Day has passed, the official wind-down of Summer has begun.  But before bidding it a formal farewell, I plan to savor it a bit longer.  After all, the tastes of Summer are some of the brightest and most refreshing--and deserve to linger for as long as absolutely possible.

Stone fruits and berries happen to be some of my favorite summer indulgences.  Known to frequently devour them on their very own, I had no qualms recently in taking things up a notch by bringing them together with homemade, buttery pastry to yield one scrumptious dessert (and next day breakfast).  Summer Fruit Crostata, to be exact.


Perfectly ripened and sweet peaches and plums, along with sweet-tart blackberries, were my fruits of choice for this scrumptious, yet amazingly simple and rustic, treat.  I love crostatas and this time around decided to substitute my go-to apple version with what's freshest and in season now.  Summer. Fruit. Pastry.  Three little words that yielded delight with each bite--and made this Summer one that I'll always savor.

Happy Eating!

Summer Fruit Crostata

Ingredients:
For the pastry (makes 2 crostatas):
2 cups all-purpose flour
1/4 cup granulated or superfine sugar
1/2 teaspoon kosher salt
1/2 pound (2 sticks) cold unsalted butter, diced
6 tablespoons (3 ounces) ice water
 
For the filling (makes 1 crostata):
1 pound firm ripe peaches, peeled
1/2 pound firm ripe black plums, unpeeled
1/2 pint fresh blackberries
1 tablespoon all-purpose flour
1 tablespoon granulated sugar
1/4 teaspoon grated orange zest
2 tablespoons freshly squeezed orange juice

Method:
For the pastry:

Place the flour, sugar, and salt in the bowl of a food processor fitted with a steel blade. Pulse a few times to combine. Add the butter and toss quickly (and carefully!) with your fingers to coat each cube of butter with the flour. Pulse 12 to 15 times, or until the butter is the size of peas. With the motor running, add the ice water all at once through the feed tube. Keep hitting the pulse button to combine, but stop the machine just before the dough comes together. Turn the dough out onto a well-floured board, roll it into a ball, cut in half, and form into 2 flat disks. Wrap the disks in plastic and refrigerate for at least 1 hour. If you only need 1 disk of dough, the other disk of dough can be frozen.

Preheat the oven to 450 degrees F. Line a baking sheet with parchment paper.

Roll the pastry into an 11-inch circle on a lightly floured surface. Transfer it to the baking sheet.
 
For the filling:

Cut the peaches and plums in wedges and place them in a bowl with the blackberries. Toss them with the tablespoon of flour, tablespoon of sugar, the orange zest, and the orange juice. Place the mixed fruit on the dough circle, leaving a 1 1/2-inch border.  Gently fold the border of the pastry over the fruit, pleating it to make an edge.

Bake the crostata for 20 to 25 minutes, until the crust is golden and the fruit is tender. Let the crostata cool for 5 minutes, then use 2 large spatulas to transfer it to a wire rack. Serve warm or at room temperature. 
Recipe adapted from Ina Garten
SHARE:

Thursday, July 17, 2014

{Homemade}: Summer Pickling


Last weekend I finally got around to doing something that I had been wanting to do for what seems like forever: make my own homemade pickles.  With it came the nostalgia of remembering my truly amazing grandmother whom I used to watch as a little girl.  Upon reflection, it dawned on me that she could do it all, literally.  From preserving to canning to pickling to baking to cooking, her culinary prowess was as broad and as effortless as they come--and her pantry was always stocked with the abundant fruits of her labor for the taking and relishing.

So back to me and my kitchen, here I was, finally about to embark on my first pickling expedition.  Inspired by the abundant pickling ideas floating around, I decided to start with a simple method that didn't require the heavier lifting and technicalities of sterilizing jars, etc., etc., but only required the coming together of my homemade pickling brine (scrumptious) and my vegetable of choice, crisp carrots.  Within a matter of minutes, I was pouring my brine over the carrots and garlic cloves in my jar and salivating with the anticipation of what the next 24 hours would bring. 


Waiting period over, I couldn't wait to retrieve the treasure from my refrigerator and finally have a taste.  I loved the slightly sweet under note and briny goodness from the apple cider vinegar, along with the bright, sharp flavors that carried through from the mustard seed, fennel seed, red chili flakes, and more.  Light, healthy and refreshing, my pickled carrots are my new favorite snack for Summer.  

 
Not one to let a good thing go to waste, I plan on increasing my pickling repertoire in the days ahead.  In fact, I'm already eyeing fresh jalapenos for what's next.  Give it a try in your kitchen and let me know how you like it and what combinations you come up with.  From the brine variations to the ingredient profiles, there's a world of briny deliciousness just waiting to be discovered and savored!

Happy Eating!

Carrot Fridge Pickles
 Adapted from FOOD52

Ingredients:

1 lb. carrots
2 garlic cloves, peeled and halved
1 teaspoon whole coriander
2 teaspoons fennel seed
2 teaspoons mustard seed
½ teaspoon chili flakes

2 tablespoons kosher salt
1 ¼ cup water
2 ½ cups apple cider vinegar
¼ cup sugar


Method:
Cut the carrots into spears that fit the height of the jars you are using.  Set carrots aside. In a saucepan combine the remaining ingredients.  Bring to a simmer, and then turn off heat.  

Place the cut carrots in a clean jar(s).  Carefully pour the hot brine over until they are submerged. Cover and refrigerate for at least one day. Well sealed refrigerator pickles will keep for 1 month. Enjoy!


SHARE:

Wednesday, June 18, 2014

{Homemade}: Dutch Baby Pancake with Blueberry Compote

I was already thinking of whipping up homemade pancakes as a part of my weekend wind-down, when I stumbled upon a recipe for a homemade dutch baby pancake from Bon Appetit, replete with a homemade fruit compote to take it over the top.  Because it had been years since I'd made my first dutch baby, I was sold and couldn't wait to wake up my kitchen with this scrumptious first bite of the day. 

Moments later, a quick scan of my kitchen pantry and fridge revealed that I had the necessary goods to get this recipe off the ground--but with no cherries and peaches for the compote (as featured on Bon Appetit).   What, then, could I do to still make it work without leaving the compote behind?  I employed my philosophy that cooking is often equal parts inspiration and improvisation--and I improvised!  Instead of a cherry compote, I would take the luscious blueberries I had sitting pretty and make the compote all the same.  (I love it when a plan comes together!)

So without any further ado, I gathered my ingredients and made myself one grand breakfast.  In truth, I didn't allow myself to eat the entire thing since I knew there might be some waistline repercussions, but I savored enough to leave me satiated--and thankful for a little improv.  It was the perfect weekend indulgence, and I hope you'll bring it into your kitchen with the same abandon--and enjoy!

Happy Eating!

Get the recipe here (and substitute fresh or frozen blueberries for the cherries).

SHARE:

Tuesday, April 15, 2014

Madeleines with Lemon Curd and Raspberries


Sometimes procrastination can last for moments or days.  At other times, it can endure for...(gasp!) years.  Well, my intentions with the French tea cake/cookie of sorts, le Madeleine, fell to the latter end of the spectrum.  I had been planning to make them for what seemed like forever, even buying these several years ago to spur myself along.  But, alas, nothing, nada, caput.  At least until the burst of inspiration, that is, by now, my signature for abandoning myself to recipes and dishes I am compelled to make, entered the scene.  And then, I just had to bake them.

Beyond the light, cake-cookie texture and citrus undertone of these French delicacies, I was eager to make this recipe so I could adorn them with homemade lemon curd (so. good.) and fresh raspberries--for the ultimate sweet  (but not overly so) bite.  

Pleased with the results, I decided to add them to the menu of my first, Pop Up cooking class that launched this past weekend.  They were a hit, as I expected...but more about that in a future post. :)  The menu decision further compelled me to try and tweak several recipe variations before landing on my final version for the class and resulted in me baking madeleines like they were going out of style!  


I'm not one to keep something this good--and easy and fun--to myself, so today's post is serving up the first recipe I tried and loved.  Note: the measurements are slanted to the UK metric system, so plan on pulling out your kitchen scale for this one.  It's quite a forgiving recipe along those lines, however, so enjoy and... 
 
Happy Eating! 


SHARE:

Monday, October 7, 2013

{Homemade}: Gnocchi with Balsamic Brown Butter


I was away from my home kitchen for most of last week, so once the weekend rolled around, I was more than ready to get back to it and take in a good home-cooked meal.  I'd been eyeing a recipe for easy, homemade gnocchi -- that diverged from the traditional potato gnocchi -- and decided to give it a try.  And now that the results are in, I'm glad I did.

I enjoy making homemade pasta, however I had never gotten around to making gnocchi.  So with a full week behind me, and an equally full week ahead of me, I loved the possibility of bringing together a dish that screams "rock star" without any of the fuss you'd expect.

The ingredient list for the pasta recipe read like a dream: ricotta, egg, flour, salt.  That simple.  Now if the results turned out to be solid (aka edible -:) ), I was certain that this would become a go-to staple in my repertoire.   

A quick turn later after making the dough, I begin to pipe it out into hot, boiling, salted water and within minutes, homemade gnocchi was mine for the feasting.  In keeping with my fuss-free, yet delicious, theme, I decided to pair the creamy, pillowy drops with a favorite balsamic brown butter.  I rounded out the dish with toasted walnuts and freshly grated parmigiano for a bit of added crunch and flavor.  

Pleased with the results, I couldn't wait to file this one away for future noshing.  But...not without sharing it with you first.

Happy Eating!

Gnocchi 
by Chef Nemo Bolin of Cook and Brown Public House

Ingredients:
2 cups ricotta
1 large egg
Pinch salt, plus more for seasoning
1/2 cup flour

Method:
Combine ricotta, egg, and a pinch of salt in a food processor. Process until creamy and smooth. Add flour and pulse just enough to incorporate. Transfer dough to a pastry bag or resealable plastic bag. Cut off the tip of the bag leaving a 1/2-inch-wide hole. Working in batches, pipe gnocchi directly into boiling salted water, using a paring knife to cut off segments of dough (see image). 


Cook until nearly doubled in size, 2-3 minutes. Using a slotted spoon, transfer to a parchment-lined baking sheet. Use right away or freeze on baking sheet until hard and transfer to a resealable plastic freezer bag. (No need to thaw them before using; they’ll reheat in whatever sauce you pair them with.)
 
Balsamic Brown Butter
Recipe courtesy of Giada De Laurentiis

Ingredients:
6 tablespoons unsalted butter
2 tablespoons balsamic vinegar
1/2 teaspoon salt
1/4 teaspoon freshly ground black pepper

Method:
In a medium saucepan cook the butter over medium heat, stirring occasionally. When the foam subsides, and the butter begins to turn a golden brown, about 3 minutes, turn off the heat. Let cool for about 1 minute. Stir in the balsamic vinegar, salt, and pepper.

Combine the gnocchi and balsamic brown butter.  Sprinkle with toasted walnuts, top with freshly grated parmigiano, and enjoy!


SHARE:
© D.M.R. Fine Foods. All rights reserved.
MINIMAL BLOGGER TEMPLATES BY pipdig